
Identify Casualties: Unknown moodles by tooltip
Positive and neutral effects often have rectangular frames, while many warnings are round. Last Stand and Adrenaline are exceptions. Some labels only appear without the chip. The 1.0 release moved hunger and thirst moodles earlier, so the old demo thresholds should not be treated as release values.
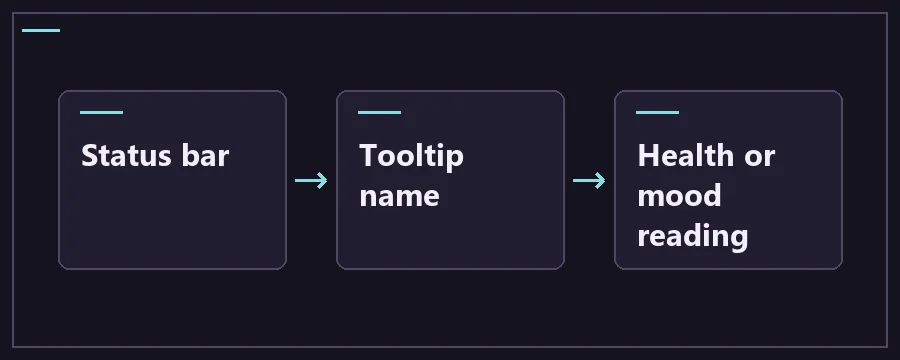
Where the icon row sits
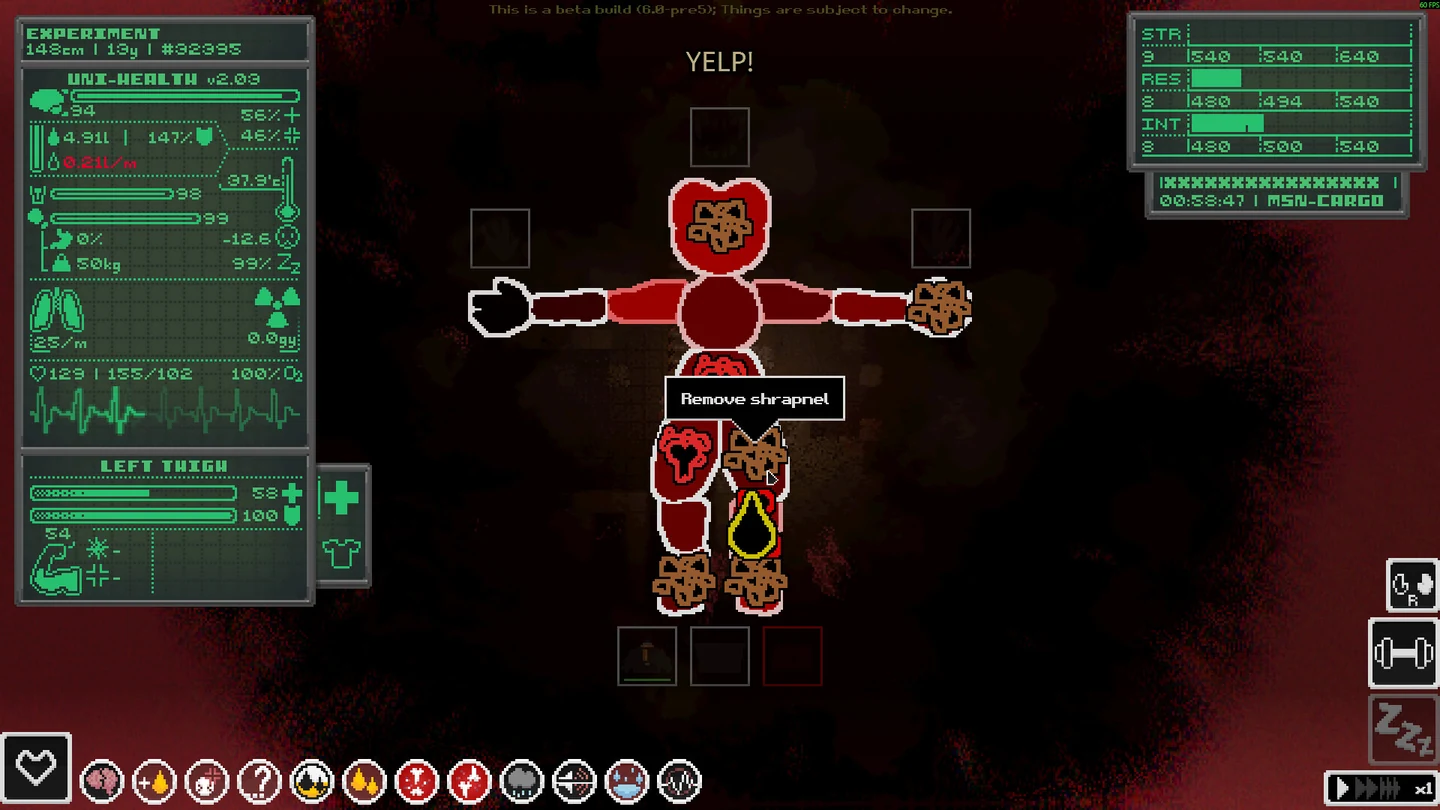
Status icon lookup and first checks
Scroll the table for more columns.
| Tooltip or warning family | First check | What to do next in-game |
|---|---|---|
| Bleeding, including severity tiers | Check the body diagram and blood loss. | Find the affected limb and apply the appropriate treatment. Recheck the reading before moving. |
| Tachycardia | Heart rate. This is listed as an unchipped warning. | Move somewhere safer and check for a cause in the other readings. |
| Trauma-related warnings | Compare the named warning with the Mood meter. | Read the separate Mood guide for temporary and longer-lived effects. |
| Hunger or thirst | Check the relevant food or water reading. | Top up while safe. Low Mood can delay a hunger icon. |
| Last Stand | Watch for the blackout and return of control. | Check what injuries or hazards remain when the effect ends. |
| Bent prosthesis | Check which prosthesis is bent and whether movement changed. | Use a wrench for the bend before applying repair material. |
| Infection | Look for the affected limb and read the tooltip and panel together. | Compare readings after dealing with urgent threats. An icon alone cannot tell you which limb is affected. |
| Encumbrance | Inspect carried weight and movement. | Drop or store low-value items before trying a climb or jump. Recheck after moving objects. |
| Loose screws or critical material loss | Check the prosthetic part for damage, shrapnel or loss of integrity. | Stop before ordinary walking makes the problem worse and compare the repair options for that material. |
| Tired, Very tired or Half-asleep | Check energy and the distance to a safe resting place. | Pick a stable rest spot, taking temperature and wetness into account. |
| Dehydrated | Check thirst and the drink you can reach. | Find safe footing and use a suitable drink before you set out on a longer leg. |
| Hypothermia | Check body temperature, wetness and nearby heat sources. | Look for shelter or warmth and recheck temperature before descending. |
| Hyperthermia | Check body temperature and whether the ground or environment keeps adding heat. | Move to a safer surface and use a suitable cooling opportunity when you can reach it. |
| Wetness warnings, including Wet | Check the wetness and temperature readings together. | Take shelter before resting in a rainy layer. Check a Torch after contact with liquid. |
| Bad sleep | Check the last rest site and current energy. | Look for a more sheltered rest spot before planning the next long stretch. |
Release UI names in the developer’s locale repository
Read several warnings in a safe order
If a warning appears during a fall or a fight, look for a stable ledge before opening the health panel. Hovering over the bar reveals side moodles, which may add context that the main display does not show at a glance. Read the exact name of the new warning. Look for changes since the last safe stop, especially after a hit, a swim or a long stretch without a drink.
A cluster of icons often has a shared cause. An injury can change mobility and blood readings together. An earlier condition can remain visible next to a new one. Work from the threat that can end the current descent, then recheck the rest once it is under control. If the icon remains, compare the underlying readings before repeating the same treatment.
For example, after a fall you might see an injury warning, a blood-loss warning and a change in movement. Check where the character landed and whether the floor is safe, then inspect the diagram. Use the treatment for the affected part and see which readings change. If you can stand but climbing still feels poor, check the other limbs before using a route that only works with normal movement.
If two icons look alike, keep the tooltip open long enough to read the condition name and any severity label. A changed severity can mean the treatment helped without clearing the source. In the case of prosthetics, look at the part as well as the warning family. A bend and low integrity can coexist, and the repair screen addresses them with different tools or materials.
Use a different check for warnings that depend on timing. An icon that appears with a blackout or sudden return of control is a reason to read the Last Stand details. A slowing pace during normal exploration might instead point to weight or a changed limb. Comparing the warning against the preceding action helps you look in the right place.
When switching between chipped and unchipped runs, look at what the current panel actually shows. An unchipped character can give you different information about the same injury. Learn the tooltip in your current edition. When an old screenshot uses a different name, use it to find the part of the interface and rely on your game for the label and current reading.
Status icon questions
Where are all the moodles displayed?
Look around the status bar, then hover over it or open the health panel for the side moodles. Use the text in the tooltip to confirm which condition you are looking at. If you are comparing with a screenshot, check its build. Older icon lists and layouts may reflect a demo rather than the current release.
Do round icons always mean something bad?
Many warnings use rounded frames and many beneficial or neutral effects use rectangular frames. The community reference notes exceptions such as Adrenaline and Last Stand. Use the frame as a quick cue, then read the tooltip. A surprising frame is a good reason to look at the affected reading before spending a medical item or changing your route.
Why does the side of the status bar look empty?
Some indicators only appear while you hover over the bar or view health. Look there before deciding that the condition is gone. The character’s chip state can change which warnings appear. After a setting or edition change, compare the actual tooltip rather than assuming every icon from a previous run will be shown in the same place.
Which warning do I handle first when several show up?
Check whether you are still exposed to a drop, a hazard or an enemy. Once on a safer shelf, look for ongoing damage or blood loss and confirm the affected body part. Handle that source, then see which secondary warnings remain. A status can describe the consequence of an injury that you already started treating.
Why did my hunger warning arrive so late?
Low Mood can delay hunger warnings. Check the food reading even if the icon is missing, especially before a long section. Also confirm you are reading a current tooltip: the release adjusted hunger and thirst moodles compared with earlier builds. Check your food and drink from a safe spot rather than waiting for a specific threshold to trigger.
What does a prosthesis warning tell me?
Read the exact name to distinguish a bend, loose screws and damage to the material. A bent piece needs the wrench step first. A crack or low integrity needs repair material suited to that limb. Check the diagram and movement after the repair. Use that result to decide whether you can safely climb again.
Is the Mood meter the same thing as a moodle?
Mood is the happiness reading in the health panel. A moodle is an icon that describes an observed condition or effect. An icon may help explain why Mood changed, and a low Mood reading may affect when another icon appears. Use this table for labels and the linked Mood guide for the meter and Trauma.
How can I tell whether the warning actually cleared?
Check the original reading and the icon after your action. An icon can disappear when a threshold is crossed while some damage remains. If you need your movement back, test it gently before committing to a climb. If you are watching an injury, compare blood loss and the affected limb before leaving the place where you can still treat it.