
Compare light range, runtime and hands-free options
The ranges below describe the usable beam or glow. A community reference gives block ranges for the character lights. The handheld sources are described by beam shape or relative reach where a measured vanilla distance is unavailable. Aim at walls and a nearby ledge before deciding whether a light reaches the floor of a larger cave.
Listed runtimes are in-game reference figures. Charge, condition, use mode and preset can affect the result. A nearly empty bulb from a pod should not be treated as a full battery. A fresh light that looks bright on the current platform can also be a poor backup if it lasts only long enough to inspect one room.
Scroll the table for more columns.
| Light | Reach | How long it lasts | Does it use a hand? | Recharge or reuse |
|---|---|---|---|---|
| Emergency light | Small directional beam for nearby ground. | About 10 in-game minutes of active use in the item reference. | Hold it to aim at a landing. | Single-use. Switch it off in already lit areas and replace it before it runs out. |
| Flashlight | Wide forward beam, aimed while held. | About 66 minutes on a full Medium battery in the item reference. Mode and battery affect runtime. | Hold it for a controlled sweep. | Recharge or replace its compatible battery. Check the mode and charge before descending. |
| Torch | Local light around the character. | About 20 in-game minutes on Tough at full condition. Liquid can put it out early. | Hold it or use the Belt slot, where it still emits light. | Use Repair Torch near a heat source to light it again. |
| Glowplant fruit | Small glow around the fruit, including when dropped. | The item reference lists 80 minutes of dry shelf life on Tough. Wet fruit spoils faster. | Carry it for moving light or drop it to inspect a spot. | No battery. Reserve a fresh fruit for a backup. |
| Rose light | Bright, broad glow for checking a longer drop. | About five in-game minutes at full condition in the item reference. It dims as it wears down. | Carry it or use it at the spot you are checking. | Temporary light. Plan to use your main source again after the check. |
| Lightbulb | Local light when held. | Varies with the installed Small battery and charge. Bulbs recovered from pods can have little left. | Use a hand. The item warns against putting it in your mouth. | Recharge or replace the compatible battery. Breaking a survivor’s pod light costs reputation. |
| Built-in head light | Experiment: 26 blocks. Milky and Dune: 3 blocks each in the character reference. | No battery timer. Eye injuries can dim or disable the Experiment’s light. | Hands free. | No charge needed. Carry another light if you cannot see the landing. |
Developer’s English item names and descriptions
Flashlight modes, battery and runtime
Built-in light depends on the character
The reference gives Experiment a 26-block head light and Milky and Dune 3 blocks each. For the Experiment, losing one eye dims it; losing both extinguishes it. Carry a separate light for longer drops.
Why Casualties: Unknown lighting goes dark in the caves
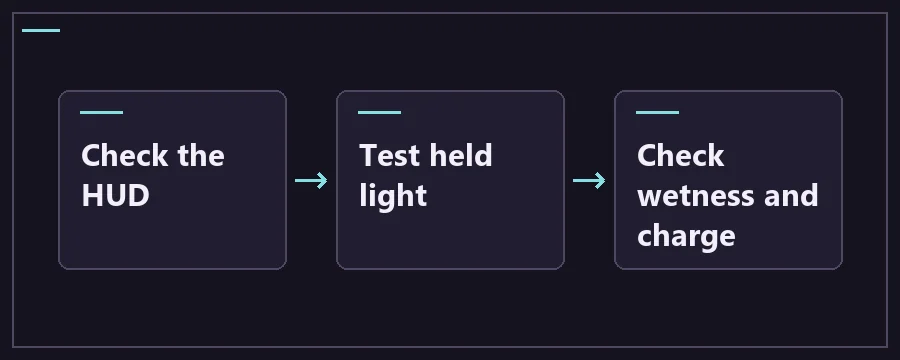
Compare menu text, HUD and a known lit spot. If all three are dim, check monitor brightness and OS display settings before altering run modifiers. If only the cave is dark, take the light out of storage. A Torch in a container still decays and normally emits no light there; the Belt is the documented exception.
Scroll the table for more columns.
| Check | Where it happens | How to tell | What to do |
|---|---|---|---|
| Brightness and gamma | Menus, the HUD or a familiar lit area. | A known bright area looks unusually dim even at the same point in a run. | Check display brightness and the game’s gamma control. Compare the same menu or shelf after changing one setting. |
| Handheld light | A shelf or opening beyond the visible edge of a cave. | The HUD is readable, but a Flashlight, Torch or Glowplant fruit is stored or aimed away. | Equip the source and sweep the nearest ground. Use Glowplant fruit as the early glowing backup. |
| Power and remaining charge | After leaving a lit shelf, using a battery for a while or crossing liquid. | The beam disappears or a Torch stops burning after getting wet. | Check the light mode and battery charge. Relight a wet Torch near heat or switch to your spare. |
| Graphics and shadow quality | Where visibility changed directly after a graphics adjustment. | The same light and ledge look different before and after the change. | Restore the previous setting and compare one option at a time, including shadow quality if your build exposes it. |
| Natural darkness and long drops | Layer 2 loses Layer 1’s background light. Layer 3 opens into wider caves. | The light still shows nearby rock but cannot reveal the far wall or landing. | Use a brighter beam or a Rose light to check the drop. Take a nearer shelf when the floor remains outside the light. |
Plan light for Layer 1, Layer 2 and the Dried Desert
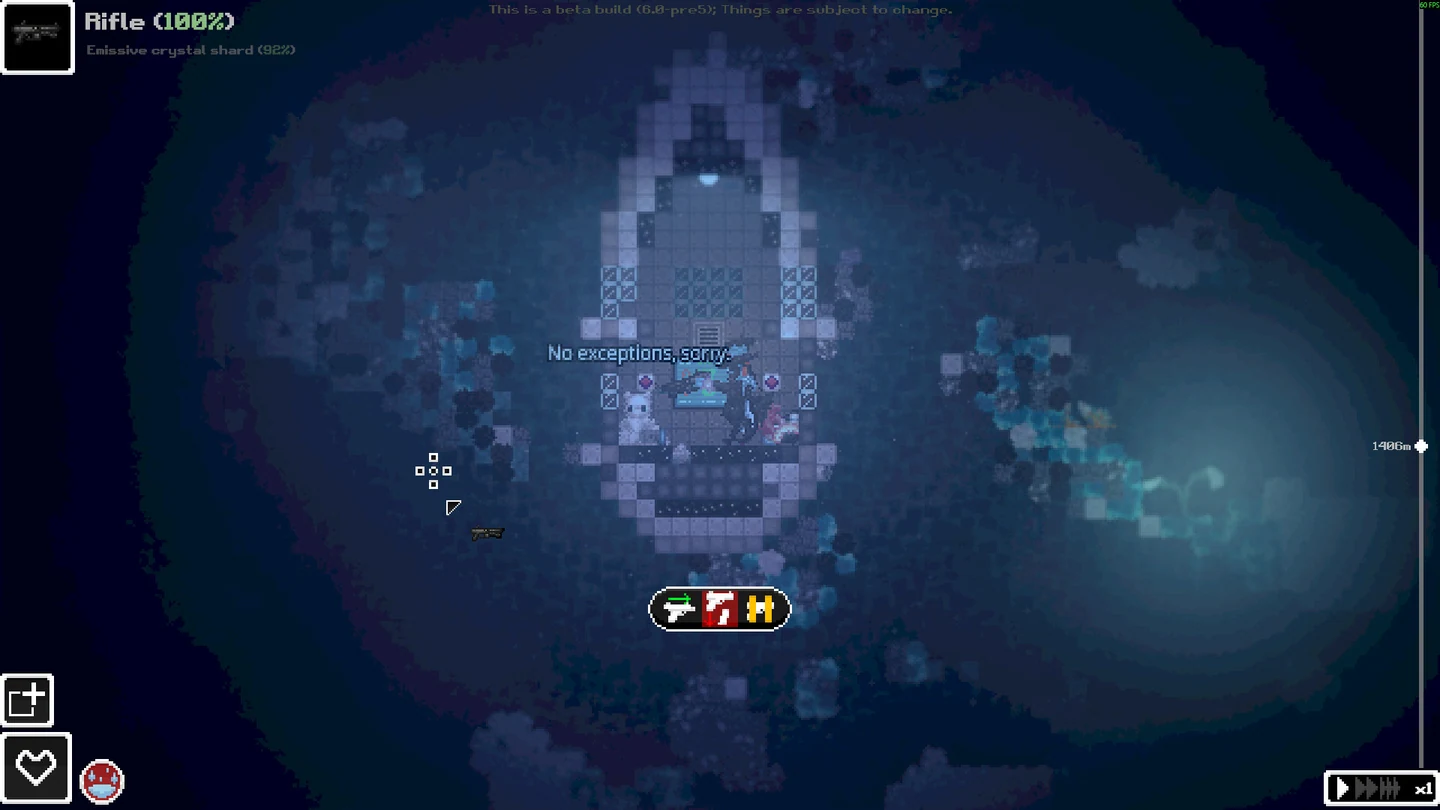
Gravel Lands lets you see some surfaces through background holes. Use those patches to choose a first ledge and conserve the emergency light. In Deeper Gravel Lands the holes are gone. Before leaving a lit shelf, put your primary light where you can use it and check that a backup is accessible without emptying the bag.
Dried Desert can feel darker because a beam that fills a small room may only reach the near edge of a larger one. Check the floor, far wall and ceiling before committing to a long drop. A dry stair of shelves can be easier to read than a single open descent. The layer can generate recharge stations, but a station submerged in oil or water is a poor reason to spend your last light.
Take advantage of battery charging from stable ground. The Hand crank charger works with a slotted battery. Charge it before you need to see the next landing and then test it in the lamp. If you have two light sources but both use the same spare battery, keep a fruit or Torch too so that running out of charge does not take both options away.
Find the first light holes in Gravel Lands
See the wider caves and flooded recharge stations in Dried Desert
Deeper Gravel Lands lighting and gamma reference
Casualties: Unknown lighting FAQ
Why is Casualties: Unknown lighting so dark on Layer 3?
Dried Desert has wider chambers and taller drops. Even when a lamp still works, the far edge of a pool or the bottom of a drop can fall outside its reach. Deeper Gravel Lands already lacks the background light holes from Layer 1. Test the landing and ceiling from the last safe shelf and use a Rose light or a shorter approach when the beam falls short.
Do you need a light source to see on Layer 1?
Holes in the background light some of Gravel Lands, and the Experiment has a built-in light. You still benefit from a separate light when a bend or a lower shelf is hidden. The first layer is a good place to collect a backup. Put it in a slot you can reach before moving into Deeper Gravel Lands, where the light holes disappear.
Which lighting settings should I check first?
Use the main menu, HUD and a known lit shelf as a baseline. Check display brightness if all three look too dark, and then compare the in-game gamma control. When the HUD stays clear and only hidden terrain is dark, aim a working light at the terrain and compare what it can reach. Change one graphics option at a time so you know what helped.
Why did my Flashlight stop lighting the cave?
Take it out of storage and confirm it is on. The Flashlight cycles through beam modes, so compare its current mode and the battery charge. If you have a compatible charged battery, use that for the next test. A small or partly used battery shortens the time you can expect from the lamp. Save the weaker beam for places where you can still see enough ground.
Can you relight a wet Torch in Casualties: Unknown?
Use Repair Torch with a heat source such as a Campfire. Step out of the liquid first and set up the interaction from a shelf you can stand on. A dry, lit Torch has its own condition and can still burn down while stored. If the next route crosses water, reserve a different source for the far bank before attempting it.
What works as a glow stick for early cave lighting?
Look for Glowplant fruit, the game’s named early bioluminescent source. It gives a small glow when carried or dropped. Keep a fresh fruit in reserve and favorite it if you are keeping it for light instead of a recipe. In Dried Desert, a fresh Rose light helps inspect longer gaps, but its short life makes it a poor only light for the whole layer.
How do I keep both hands free while lighting the cave?
Check whether the current built-in head light reaches your landing before relying on it. Its reference range differs sharply between the Experiment and Milky or Dune. A wearable headlamp is another hands-free option. A lit Torch on the Belt also keeps working under the documented storage rule. Test your chosen slot on familiar ground before a climb where you need a tool in hand.
What if my lighting runs out and the recharge station is flooded?
Stop at the last ledge you can see. Look for dry footing and a return path before attempting the station. Switch to a usable backup for the immediate move and recharge a compatible battery later if you have a safe charger. If no light can reveal the next shelf, backtrack toward a known location instead of spending the last charge trying a blind drop.