
Where Casualties: Unknown Layer 1 sits in the descent
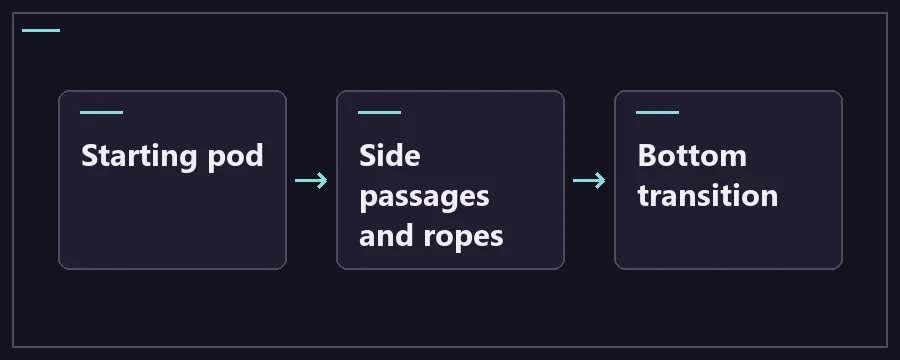
Gravel Lands is the opening layer of the demo and the full game. Its small caves connect through shelves, wood scaffolding and occasional climbing ropes. Think of the starting pod as a landmark for the first leg. A short trip to a side cave lets you collect supplies and learn where to retreat before trying the first deep opening.
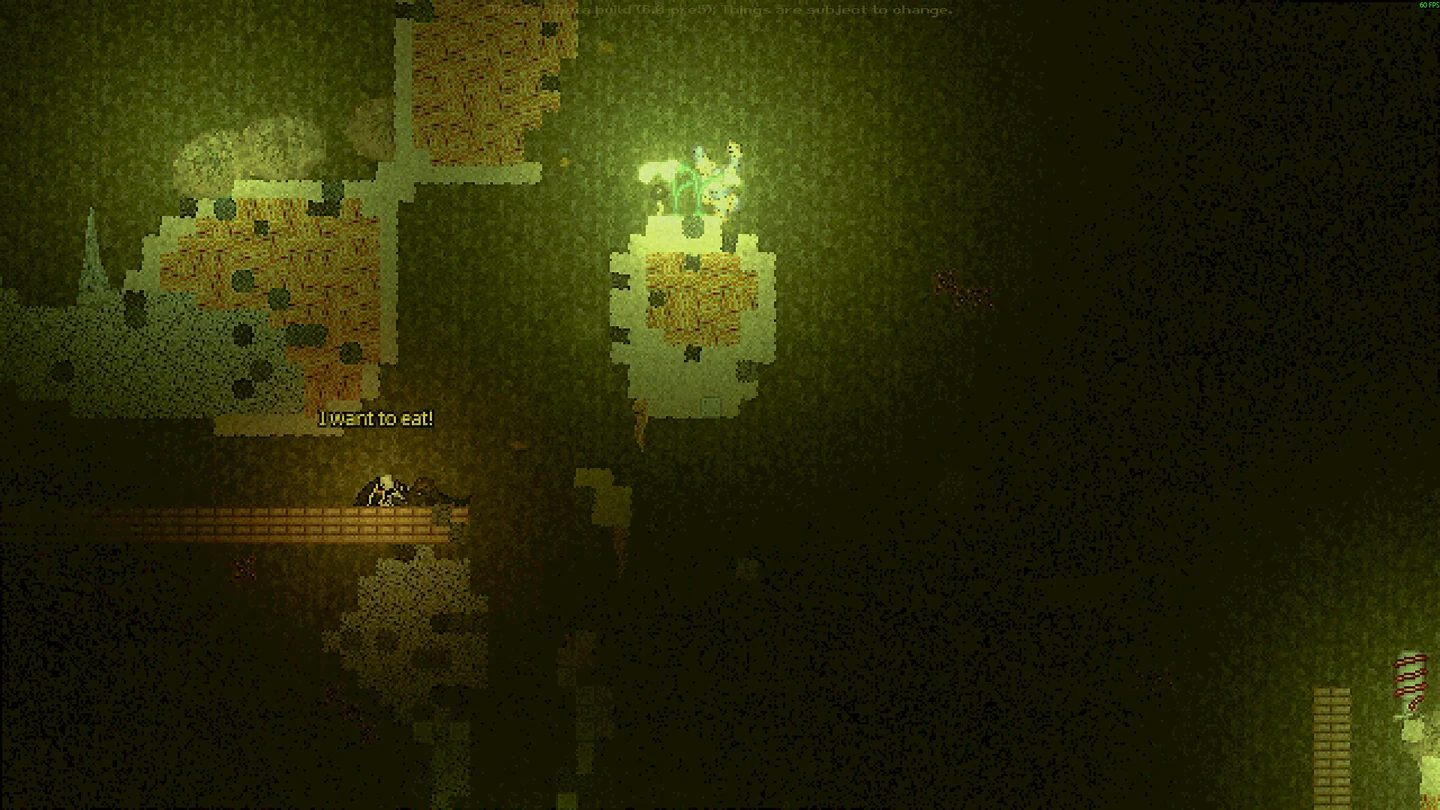
Background holes provide local light, so use the bright patch to look at the immediate ground. Once it stops, take over with your handheld light. Check the next landing and the way out of it. A shelf is only useful if you can stand on it and then reach another one with your current movement. Change direction early when a route would leave you in the dark above a pool or a spike trap.
The first two layers give you a chance to organize your inventory before the desert, where water can be harder to find. Spend time on supplies you can use right away. If you find a suitable bag or canteen, save the components you would have spent crafting one. If your clothing or character changes how much you can carry, test movement on a short slope before adding more loot.
Recognizing lit shelves
Check supplies before touching the bottom
Before the last drop, check that you can still move, control bleeding and see in the next layer. Bring water and usable storage; Layer 2 lacks the light holes from Layer 1. Do this from a shelf before the transition prompt. The 1.0.2 notes add a setting to change bottom movement reduction, so controls may differ between runs.
Layer 1 hazards and what to carry
Scroll the table for more columns.
| Hazard | Where to look | How to respond | What to carry |
|---|---|---|---|
| Spike traps, jump pads and geysers | On or close to the surface you plan to land on. Check low spots and water around geysers. | Stop on the previous shelf and inspect the landing. Choose another way down when a trap covers the only place you can stop. | Handheld light and a reachable dressing. |
| Falls and broken footing | Vertical openings, gaps in scaffolding and ledges above groundwater. | Take a shorter step or use an intact climb route. Look for solid ground beyond a scaffold before relying on it as your only return path. | Light and enough free movement to climb back. |
| Low light | Beyond holes in the background or beyond the reach of your head light. | Aim the held light at the ground and the walls. Backtrack if you cannot see both the landing and a way onward. | A primary light and a spare such as a Glowplant fruit. |
| Shade Crawlers | In connected caves, including around bends where your next shelf is hard to see. | Keep room to turn. Return to a known shelf if you would be forced toward a trap or drop. | Light, treatment and a bag that leaves your hands usable. |
What you can gather on Layer 1
Scroll the table for more columns.
| Find | Where to check | Use it for |
|---|---|---|
| Glowplant fruit | Glowplants on a route you can reach safely. | Keep one as a backup light. Mark the one you are using as a favorite so you do not process it with the rest. |
| Foliage | Glowplants and Geotrees. Community crafting notes also list Hydreed wrapvines as a heavier substitute. | Use it for rope or canvas when the pinned recipe asks for them. Compare a found bag before building one. |
| Plastic chunks | The starting-area rubber flooring is a documented early source. | If you need a Canteen, check for two plastic chunks, rope and 10 mL Bio-chem fluid in the recipe panel. |
| Groundwater | Pools between cave shelves. | Look for a bank you can approach and leave. Check what the container holds before treating it as your drinking reserve. |
| Containers, tools and treatment | Loot containers or survivor trades when you find them. | Replace a known shortage first. A reachable dressing or usable storage is worth more than a second tool you cannot carry comfortably. |
Layer 1 walkthrough from the pod to Layer 2
- At the starting pod, check your hands and storage. Equip light, find a reachable drink and dressing, and leave space for one useful container or tool.
- Search sideways from the pod for an opening with a visible landing. If background light reaches the shelf, check what it reveals. Use your own light to see beyond it.
- Look for a rope or scaffold across vertical gaps. Inspect the floor and walls for spikes and geysers. If a Shade Crawler or a bad landing blocks the route, go back to a shelf and inspect another opening.
- Use the health panel after a hit. Identify the affected limb and check movement before going over another edge. Reorganize your supplies from stable ground.
- Before choosing to continue or save and quit, check that you can see without the natural holes, drink without unpacking everything and treat another injury. Complete the scanner step before leaving if you are pursuing Mercenary.
Casualties: Unknown Layer 1 FAQ
What should I do first on Casualties: Unknown Layer 1?
Set up your light and check storage at the pod. Put a dressing where you can get to it without moving all your supplies. Look left and right before dropping below the pod. If you find a small cave with an easy return, use it to practice holding the light while using the inventory. Then look for the next ledge from a spot where you can stop.
Can I follow a fixed Gravel Lands map?
Gravel Lands has recognizable features such as small connected caves, scaffolding and ropes, but their positions change between runs. Plan from the ledge in front of you. Look for somewhere you can stand, check the floor for traps, and identify a way off that shelf before landing. Go around a room when the only visible crossing puts you over a pool or out of reach of a safe exit.
What enemies and traps can I encounter on Layer 1?
The standard Gravel Lands reference lists Shade Crawlers and identifies spikes, jump pads and geysers as the early traps. Coming around a corner to avoid a creature can put you on a trapped shelf. Look down as well as toward the creature when choosing a retreat. If you were injured, check which limb took damage once you have a safe stop.
When should I craft a bag or Canteen in Gravel Lands?
Open the recipe when you know what you are missing. A safe opening with limited storage is a good time to make a bag, while a usable found container can save that craft. Check the actual requirements and pin the recipe if a part is missing. Keep a fruit used for light separate from the fruit you intend to turn into fluid for crafting.
What should I do when the light holes disappear?
Equip the light while you are still on a visible shelf. Aim it at the closest likely landing before inspecting farther away. A light kept in storage is a reserve, so test it in hand before attempting another drop. When the emergency light is low, turn back early enough to retrieve or use a second source. Layer 2 is a poor place to discover that your only usable light is gone.
Can a drill pod change where I go after Layer 1?
A repairable drill pod in the early gravel layers can skip a layer once working. If your goal is to prepare for the desert or find a specific objective, compare what you would miss against the time saved. The regular bottom transition from Gravel Lands goes to Deeper Gravel Lands. If you cannot confirm a pod is usable, plan around that standard exit.
What should I check before leaving Layer 1?
Find stable ground before approaching the bottom prompt. Confirm you can move and climb, that bleeding is under control, and that a drink, light and dressing are within reach. If you are attempting Mercenary, verify the scanner step while you can still complete it. Patch 1.0.2 lets you toggle the bottom movement reduction in the run settings, so read the transition prompt instead of relying on how the character feels.
Is Gravel Lands the same starting layer in the demo and Endless?
The Steam demo and full game both start in Gravel Lands. Endless begins there too, but the later cargo loop returns to Deeper Gravel Lands instead of taking you through the ending or back to the starting pod. Make the most of the opening supplies on your first pass. If your goal is a normal ending or character unlock, check the run mode before starting a full descent.