
Where Casualties: Unknown Layer 3 sits in the descent
You reach Dried Desert after Deeper Gravel Lands and before Wasteland. Check your inventory at the end of Layer 2, where basic supplies are easier to gather. The first opening in the desert can already be wide enough that the lower ledge is out of view. Stop before the edge, pick out a possible landing and a second way down, and check that you can still reach your drink and dressing without emptying your bag.
At the first broad opening, scan the landing, the walls and the ceiling from your shelf. Mines are a floor problem, while turrets, coils and stalactites give you reasons to look away from the ground. If you see only the near edge of a landing, look to either side for a shorter drop. Sand vines can provide a route through some openings where the gravel layers used ropes.
Check your light before you cross a long gap. A Rose light is a useful find if you can pick it up safely. The layer can generate recharge stations, but a station can also be flooded by oil or water. Plan around a light you already have. Recharge when you can reach the station and return to dry ground without depending on an uncertain exit.
- At the layer entrance, equip the brighter of your two lights and keep a dressing where you can use it quickly.
- Take visible ledges or sand vines and scan across the full opening before dropping. Keep a side route in mind if a turret or mine blocks the landing.
- Prefer a dry route around an oil pool unless you can see a usable exit. Oil is harder to escape when you are injured or exhausted.
- After a hit or slip, stop on a shelf and check movement and bleeding. Replenish the supplies you will need in the Wasteland before the transition.
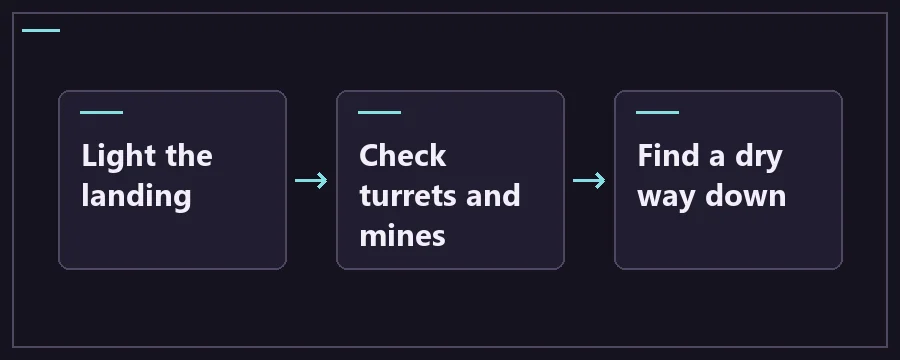
Layer 3 hazards and supplies
Scroll the table for more columns.
| Hazard or landmark | Where to look | How to respond | What to carry |
|---|---|---|---|
| Landmines | Floor tiles and landing shelves. | Light the landing before dropping. Choose another ledge if you can see a mine but cannot judge where you will land. | Handheld light and an accessible dressing. |
| Turrets | Open chambers with long sight lines. | Inspect the far wall and ceiling from the last sheltered shelf. Take a route that does not leave you in the open for the entire descent. | A light that reaches farther than your head light. |
| Coils | Trap positions along generated passages. | Identify the device from a ledge and leave space to move around it. Check the next landing for a second trap. | Working light and enough stamina to detour. |
| Stalactites | Ceilings over open drops. | Look above the planned landing before taking it. Inspect a side route if you are forced to pass under a suspect ceiling. | A light you can direct upward from a shelf. |
| Sand vines | Across some vertical openings. | Check where the vine starts and what is below it. Use it to break up a long fall if you can reach it safely. | Keep a hand available and keep your light usable. |
| Oil pools | Low areas and around waste pipes or structures. | Choose a dry bypass first. If you consider crossing, find the far bank and see how you can climb out before entering. | Light, spare energy and movement you can rely on. |
| Recharge stations | Generated structures, sometimes underwater or in oil. | Check both the console and the return path from dry footing. Leave it if reaching it would strand you. | A charged primary light plus a separate backup. |
| Rose light | Dried Desert, where Sand Roses grow. | Treat it as a useful find when the approach and exit are visible. Keep your working light until you have the replacement in hand. | A free hand or an accessible storage slot. |
How to cross Layer 3 when oil blocks the next shelf
Check both banks first. An opening that looks passable while you stand on the edge can leave you trying to climb while injured or low on energy. If you cannot see a bank or vine that gets you out on the other side, backtrack to the last branch instead of testing the pool. Watch for Sand Stalkers and Shade Crawlers while you change direction.
Layer 4 adds radiation and sound cannons. With a working light and resources still available, leave Layer 3 in a condition that lets you detour around exposures immediately. If you used your last dressing while crossing the desert, treat that shortage as a reason to check a safer nearby ledge before leaving.
Layer 3 FAQ
Which enemies spawn on Casualties: Unknown Layer 3?
Sand Stalkers and Shade Crawlers are listed for Dried Desert. The larger rooms can leave you farther from a shelf when one comes into view. Check that the path behind you is clear and keep track of traps before changing direction. A creature in front of you is also a reason to look down: the nearest escape line can still pass through a mine, a drop or a pool.
Can you skip Layer 3?
In the normal vanilla descent, Dried Desert follows Deeper Gravel Lands and comes before Wasteland. Plan to cross it. You can avoid a particular room by returning to the last fork and finding another opening. This is often the best option when a station is flooded or a turret and a pool share the same approach. Look for the next safe way down from where you are.
What happens if a Layer 3 recharge station is flooded?
A station can generate in water or oil. Check whether you can reach the interaction and return to a dry ledge from the same approach. If the only route drops you into a pool with no clear exit, keep the primary light you have and use your backup before it runs out. A different shelf or a Rose light farther down may give you a safer way to recover visibility.
Do you need rope on Layer 3?
Sand vines can work as climbs in the desert, so a rope is not a prerequisite for entering this layer. Treat any vine as a local opportunity. See how you will reach it, where you can stop and what is on the floor below. Spare rope can still be useful if you know how to deploy it and need to choose between a long fall and a shorter descent.
Is Layer 3 in the demo?
Yes. The Steam demo covers the first five cave layers, so Dried Desert is in both editions. The useful route cues here include wide openings, sand vines, oil pools and the need to scan the ceiling. If you learned the basics in the demo and switched to the full game, check your run settings and available supplies before applying a route from another run.
What should you carry from Layer 3 into Layer 4?
Carry a working light, a reachable dressing and enough drink for a detour. Wasteland adds radiation sources and sound cannons, and space around a tempting item may be dangerous. Check the route around the first hazard before you pick anything up. If you leave Dried Desert with an injury, stabilize it before making the next drop instead of relying on a supply stop across the boundary.
How long does Dried Desert take on Layer 3?
The time depends on your layout, equipment, injuries and the settings of the run. Use progress cues you can act on: whether you can see the next drop, find a path around a pool and keep enough light for the lower passages. A long detour is worthwhile when it gives you a dependable landing. If it leads back to the same flooded opening, look for a different branch.
Why can Layer 3 feel darker than Layer 2?
In Dried Desert the openings are often wider and landings farther apart, so your light can show the edge without reaching the far wall or floor. Deeper Gravel Lands already loses the natural holes from Layer 1. Check visibility locally: aim a light toward the next shelf, then sweep above and below it. If the beam still falls short, look for a shorter approach or a stronger light.