
Where Casualties: Unknown Layer 9 sits in the descent
You enter Geothermal Vents from Crystalline Hollow. Where We Must Reach is next, and it has a time-sensitive objective instead of a normal exit. Use the change in environment to switch from inspecting individual crystals to reading ground, heat, and walls. Check your supplies before leaving Layer 8. There are collapsed pods in the vents, but the community reference records no intact pods or traders here.
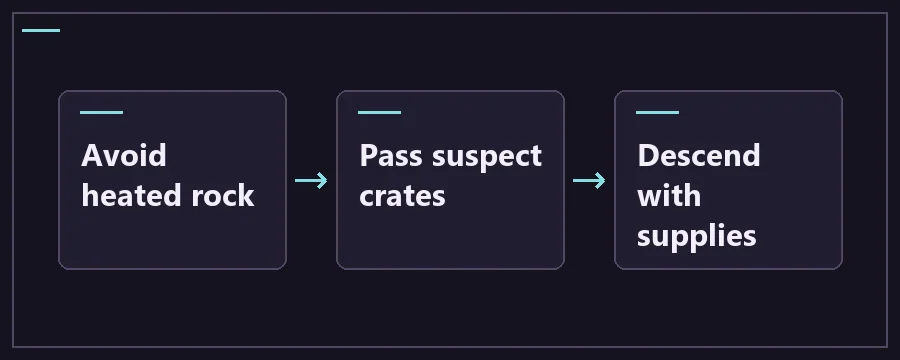
The community layer reference lists temperatures from 35°C to 43°C. Heated rock can hurt your feet and raise body temperature. Scan the next place you intend to stand before you descend, even if the ground looks solid. Lava geysers, sawblades, fans and pistons give you additional reasons to aim for clear patches.
Watch for crates that could be disguised cryo-drones. The community reference says a drone opens when you approach and fires a freezing beam. A hole in a wall can hold a bloodsucker. Give wall holes and uncertain crates space, and choose solid ground with an alternate way forward when there is room. The vents do not generate intact life pods, so plan without depending on a trader.
- Before leaving the upper shelves, check your held light and supplies. Use a good landing to identify the next patch of cool ground.
- Around a magma gap, look for a side ledge before stepping onto heated rock. Cross through a place where you can see both the floor and nearby walls.
- A Coldpuff can cool nearby characters when broken. Look at your footing and other hazards before moving toward one. Check your readings and movement after the interaction.
- As pressure sets in in the lower half, aim for the next layer. If this is a Mercenary run, confirm the Kinetic Transmitter chip before leaving.
Layer 9 hazards and supplies
Scroll the table for more columns.
| Hazard or landmark | Where to look | How to respond | What to carry |
|---|---|---|---|
| Heated rock | Across exposed ground in the vents. | Distinguish stable footing from safe footing. If your feet take damage while standing, move to a nearby clear shelf before reading the panel. | Light and protection supported by your current equipment. |
| Magma and lava geysers | In gaps and around active vents. | Look for a route around or above them. Check the far-side landing before crossing. | A working primary light and a fallback. |
| Cryo-drones | Disguised as container crates. | Keep your distance from uncertain crates when you lack cover. Compare the value of the loot to the cost of approaching. | Visibility and room to turn or retreat. |
| Bloodsucker dens | Holes in the walls. | Give openings a wide berth. If a limb takes damage, move free and inspect for blood loss once you can stop safely. | Reachable treatment and a clear route away from the wall. |
| Sawblades, pistons and fans | Along generated routes and tight landings. | Watch the obstacle from the nearest safe shelf and check the space beyond it for another threat. | Light and enough movement to use an alternate opening. |
| Lava lamps | Near other plants in the vents. | Observe from a distance. They can burn on contact, so avoid squeezing past one on a blind approach. | A light bright enough to see the plant edge. |
| Coldpuffs | Cold-looking balls suspended on tentacles. | Use the cooling opportunity only where you can reach it and still move away from other traps. | Enough room to stop and recheck body temperature. |
| High pressure | Below the midpoint and on the following layer. | Use the warning as a cue to get ready for the cargo search. Skip detours that spend time or treatment for little return. | Drink and equipment you can reach without sorting the entire bag. |
What to do when high pressure appears on Layer 9
High pressure is documented below the midpoint here. The community reference describes it settling at this stage and becoming a rising problem on the next layer. Treat the warning as preparation for the cargo search. Put useful equipment in reach, recheck injuries and skip detours for supplies you can do without.
Your next task is a specific chamber, so the routine of looking for another downward transition changes on Layer 10. Use the cyan cargo cue and check the space above it for the drill pod. If your route depends on a particular item, confirm it while you still have a place to stand and look through the inventory.
Layer 9 FAQ
What causes foot damage in Casualties: Unknown Layer 9?
Heated rock can damage the feet and raise core temperature even when it looks solid enough to stand on. Watch the surface you are about to use, especially if the previous landing was safe. If body readings change during a stop, move to the closest known clear shelf and check both feet. Treat the resulting injury after dealing with the ongoing exposure.
How do you cool down in Geothermal Vents on Layer 9?
The community reference describes Coldpuffs that release cooling nearby when broken. Judge whether you can reach one without crossing a wall hole, hot surface or trap. If you use it, compare body temperature before and after and move on from a position that has a clear exit. Plan the next leg before spending time chasing a more distant Coldpuff.
Can every crate on Layer 9 be a cryo-drone?
The danger is the disguise: a cryo-drone can present itself like a container crate until you approach. Treat an unfamiliar crate as uncertain when your return path is narrow or the ground below is heated. If you can take a better landing that avoids the crate, compare that option against the supplies you expect to gain. A supply stop is valuable only if you can leave safely.
Where does pressure start on Layer 9?
The Geothermal Vents reference describes pressure appearing in the lower half and staying at that level in the vents. On Layer 10, pressure continues to rise as you search without the cargo. Once you see the warning, finish sorting anything essential and keep enough movement to go directly toward the objective on the next layer. Use the visible warning as orientation rather than estimating from your route alone.
Can you trade in Geothermal Vents on Layer 9?
The community reference lists collapsed life pods but no intact pods that would provide a trader. Prepare before leaving Crystalline Hollow, especially if you are short on light or treatment. If you enter with a low reserve, favor a direct route between visible safe shelves. Avoid detours that depend on a shop or a resting spot you have not found.
What do you do about a bloodsucker den on Layer 9?
Check open wall holes before taking a path that hugs the wall. If there is another usable ledge, choose a line with more separation. Should you take damage, move to a spot clear of the wall and check the affected limb and blood readings. Avoid treating from the same position if it leaves you next to the source.
Which Mercenary chip is in Geothermal Vents?
The Kinetic Transmitter chip is associated with Geothermal Vents. Consult the Mercenary chip checklist and use the scanner flow for its specific route. Check the item before confirming the transition. If you are doing a regular cargo run, the chip detour is a separate task. Choosing a direct route is often safer when your light or movement is already limited.
What changes after Layer 9?
Layer 10 sends you looking for the cyan cargo instead of a standard exit. It has rising air pressure before the cargo is embedded, along with hazards you met on earlier layers. On entering, identify which direction makes the cargo cue stronger, then look for reachable landings. Leave a way back toward the pod platform once you spot the objective.